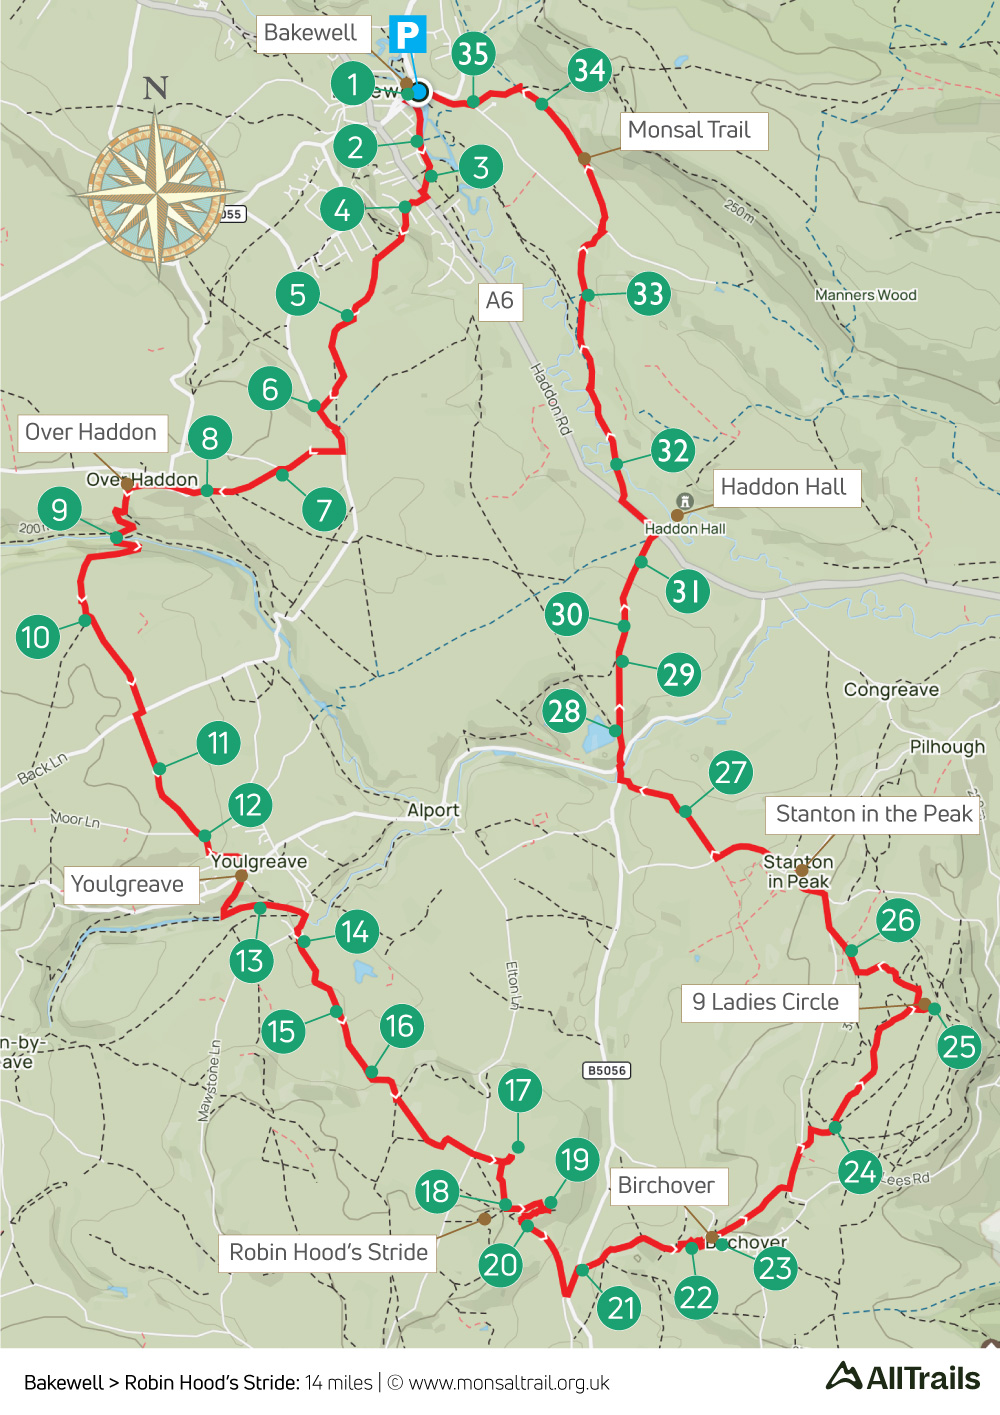
24. Bakewell > Robin Hood’s Stride
Walk distance: 14 miles | Date recorded: July 2024
Start point: Bakewell Bridge | Google Map
GPX file: Just £1 | Download file
Walk description
At 14 miles, this will probably be the longest walk in the series. I’ve included it because it passes so many historically popular and important sites in the White Peak.
Starting from Bakewell’s 14th century bridge, the route heads south through Over Haddon and Youlgreave to the Grey Ladies Neolithic Stone Circle, which lies close to both Robin Hood’s Stride and the Hermit’s Cave.
Then north to Birchover, passing the bizarre carvings at Rowtor Rocks and on to the Nine Ladies Stone Circle on Stanton Moor, returning past the entrance to Haddon Hall, parts of which date back to the 11th century. The final leg is along the Monsal Trail.
A ‘Relive’ version of the walk. Click to play and use the expand option to view in full-screen. Click here for more Monsal Trail ‘Relives’.
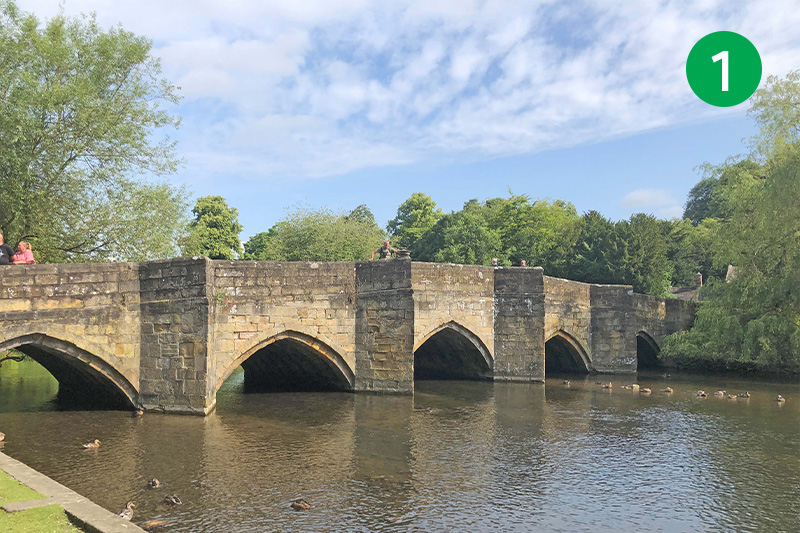
1: The walk starts from Bakewell’s historic bridge over the River Wye. There are a few large ‘pay & display’ carparks to choose from in the town. The nearest one to the starting point is right beside the bridge. From the bridge, walk along the attractive riverside path, with the river on your left.
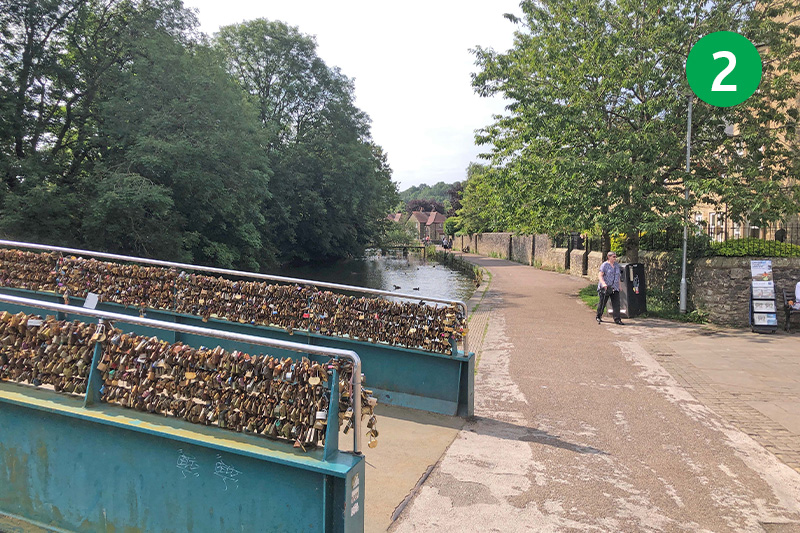
2: You soon come to the ‘Love Lock’ footbridge on your left. (The local council are about to remove the locks saying that people may suffer cuts and bruises if they brush against them!) The walk continues along the riverbank path, but to explore Bakewell first, simply turn right towards the town centre.
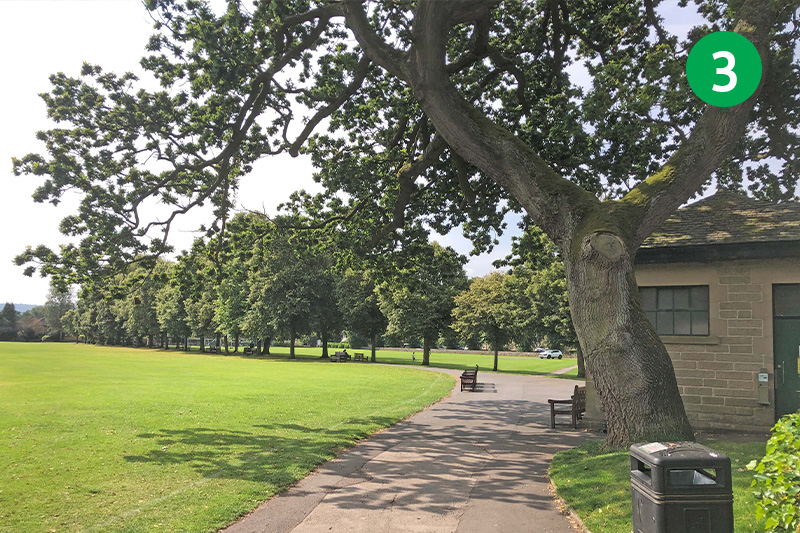
3: Continue in the same direction to reach Bakewell’s Recreation Ground, turning right just beyond the stone building and following a narrow path diagonally left towards the main A6 road. Cross the road and turn left, and then right along Holywell, to enter a small housing estate.
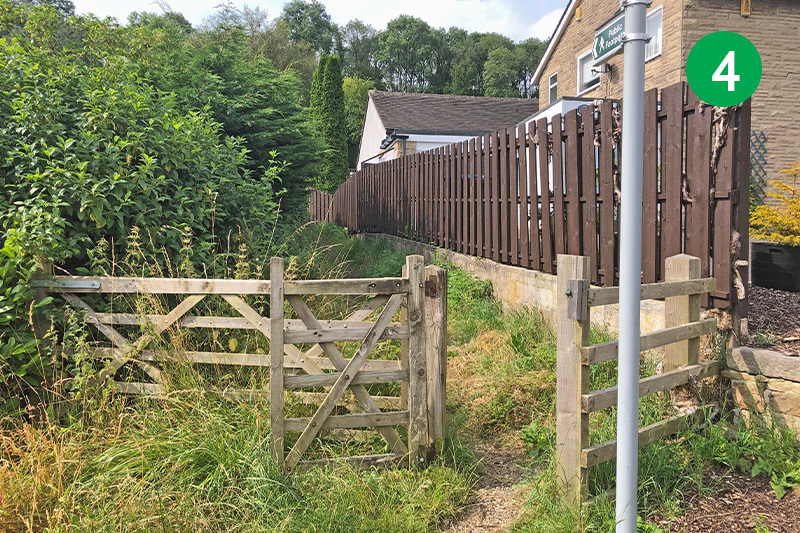
4: Follow the road around to the right and look out for a footpath sign straight ahead, at the junction with Park View, leading through a gate and along a narrow track. Head up some steps to enter Catcliff Wood, and follow the narrow path as it passes a graveyard on your right.
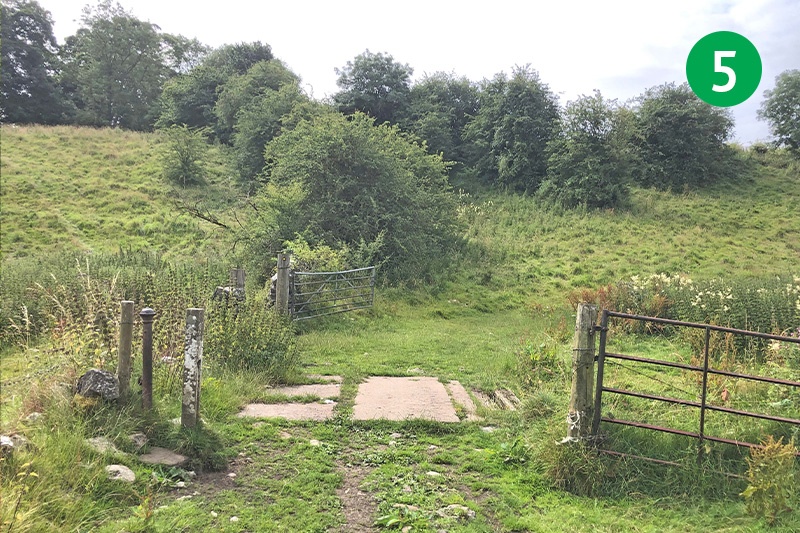
5: Turn left when you reach a wider track, and follow the obvious path for some distance until you reach a junction of paths, just beyond a metal gate and the remains of a concrete base. Follow the direction arrow to the right, passing through a stile and take the path as it winds up the slope to the left.
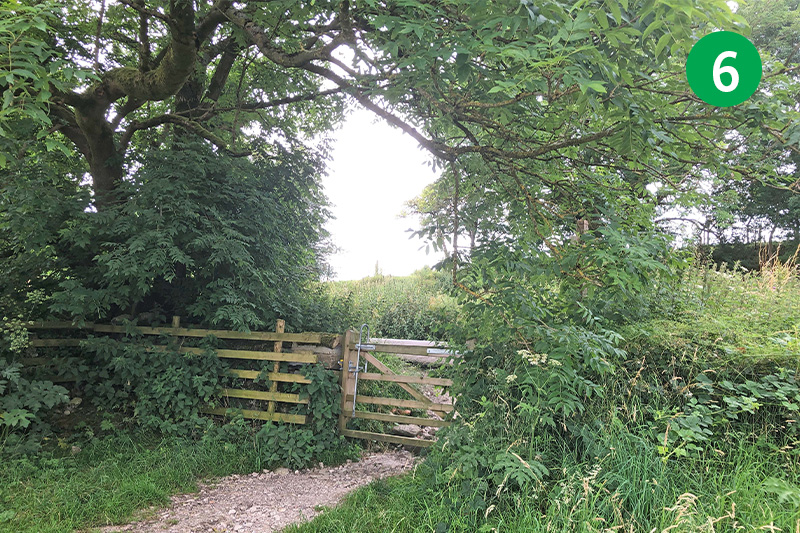
6: Go through a wooden gate, following the direction arrow straight ahead across a large field. The footpath goes across the next two field in a straight line, diagonally right, but if there are crops growing, it’s often easier to walk around the edges – to the left of the first field to reach a gate, and then to the right of the second field to the far corner where a wooden gate leads onto the road.
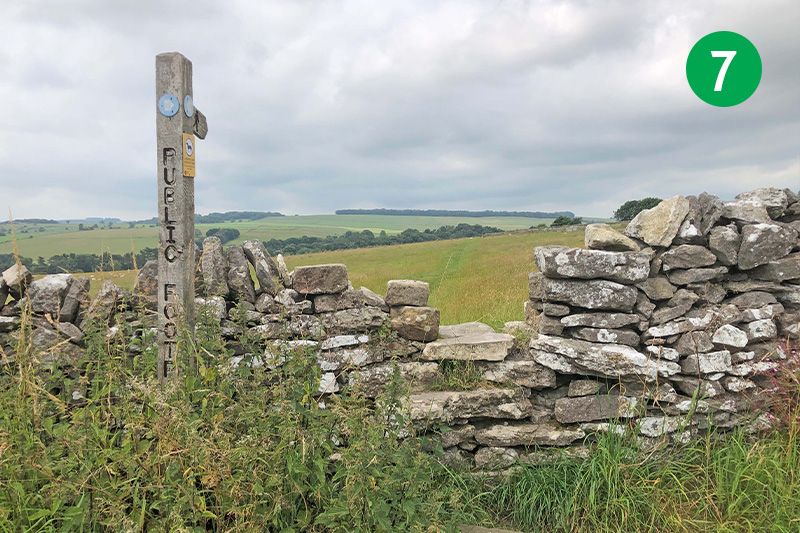
7: Turn left along the road, and then right at the next junction, following the sign to Over Haddon. Look out for a footpath sign on the left, next to a stone stile. Go through here and follow the path straight ahead, across the wide field, passing through a small gate. Follow the direction arrow slightly right to cross another stile over a stone wall, keeping to the left of the farm buildings.
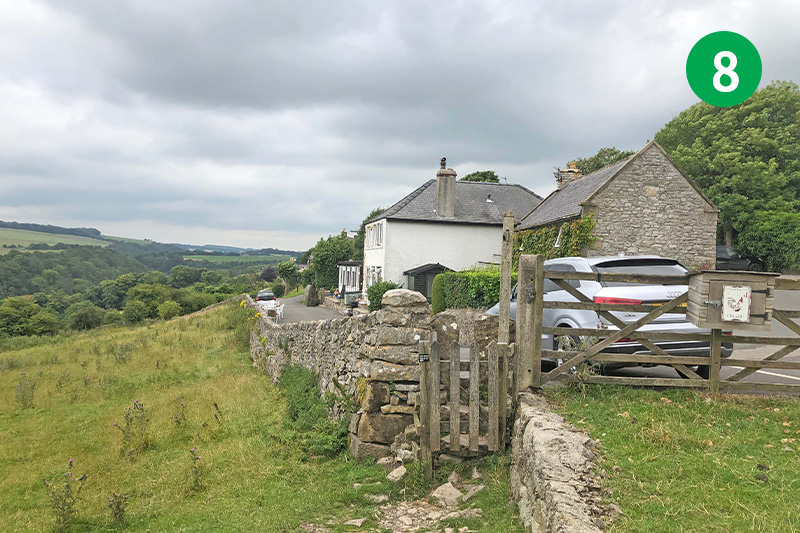
8: Go through a stile and head along the lane, passing the Lathkil Hotel on your right. This is a great place to stop for some refreshments, enjoying the views across the valley from their outside tables. Take the right hand lane up the slope, keeping in the same direction when you reach Main Street, and passing the Village Garden on your left, which is another good place to rest awhile.
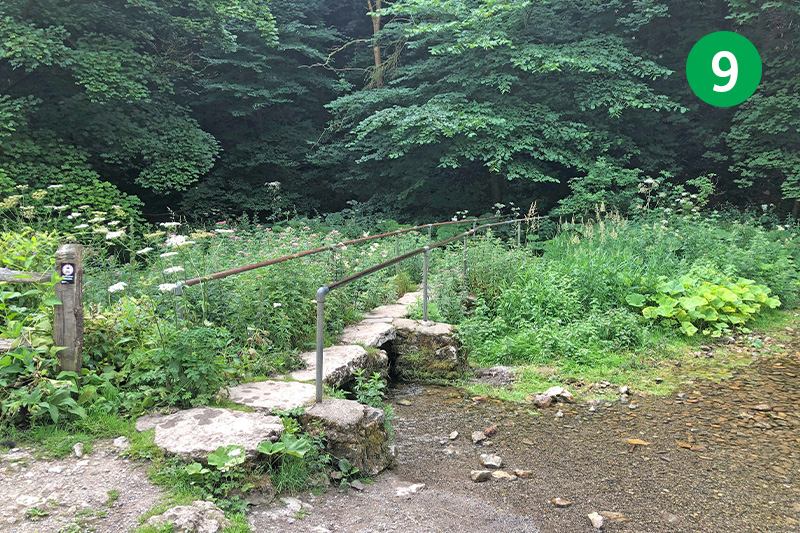
9: At the junction, follow the road arond to the left, passing the village carpark on your right (this is an alternative starting point for the walk). Stay on the narrow lane as it snakes down the slope and cross the clapper bridge over the River Lathkill, following the bridleway sign to Youlgreave.
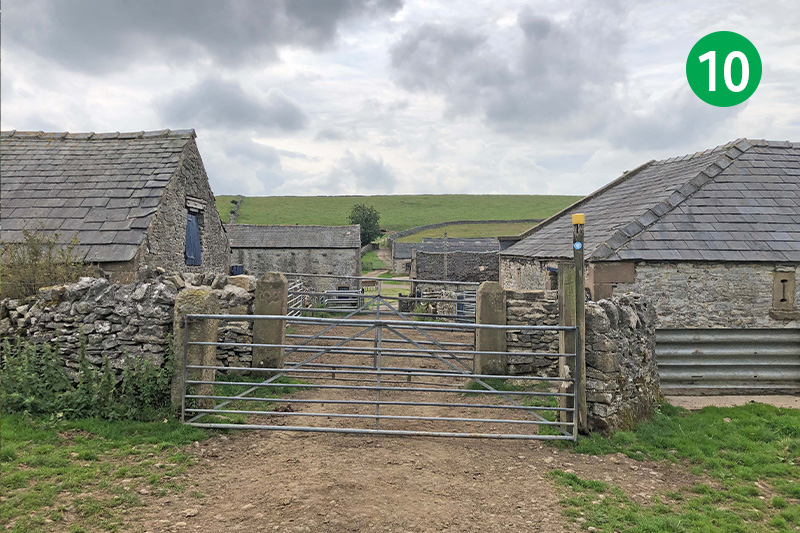
10: Keep on this narrow track as it winds up the slope, eventually exiting through a wooden gate. Turn left towards the farm buildings in the distance, passing through the farmyard straight ahead to follow the footpath sign to Youlgreave.
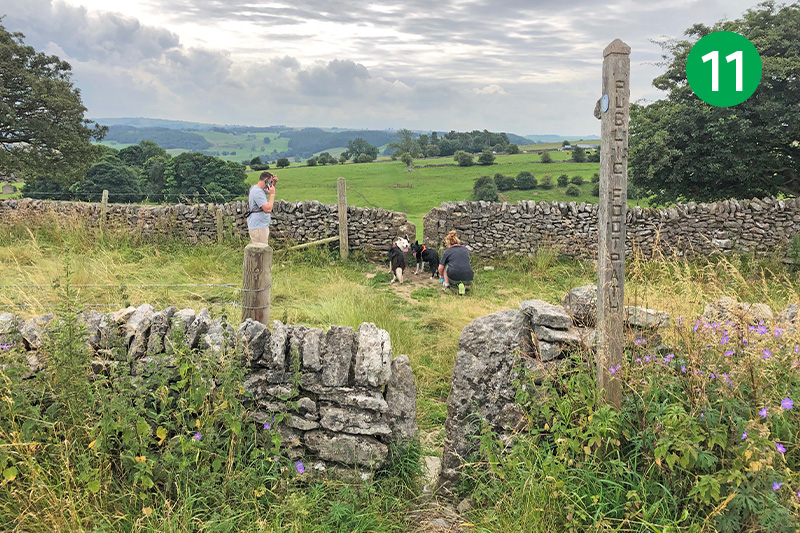
11: Head up the slope, keeping the stone wall on your left. Cross a stone stile, keeping in the same direction to eventually reach a minor road. Turn right and then immediately left through two stiles into a large field.
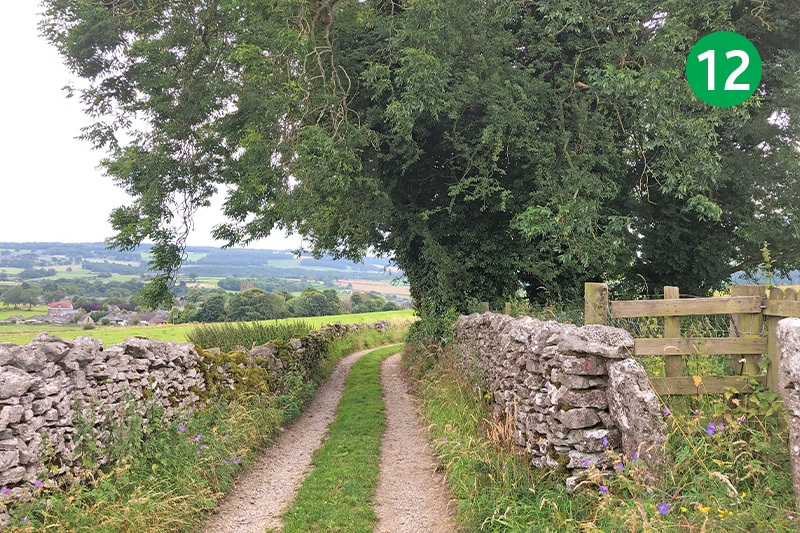
12: Follow the direction arrow up the slope towards the largest tree on the horizon. Keep in the same direction, with the stone wall on your right, to reach a metal gate leading to a farm track. Follow this all the way down into Youlgreave, taking the right hand fork as you approach the main road. Cross the road in the same direction, passing Youlgreave Village Hall on your left.
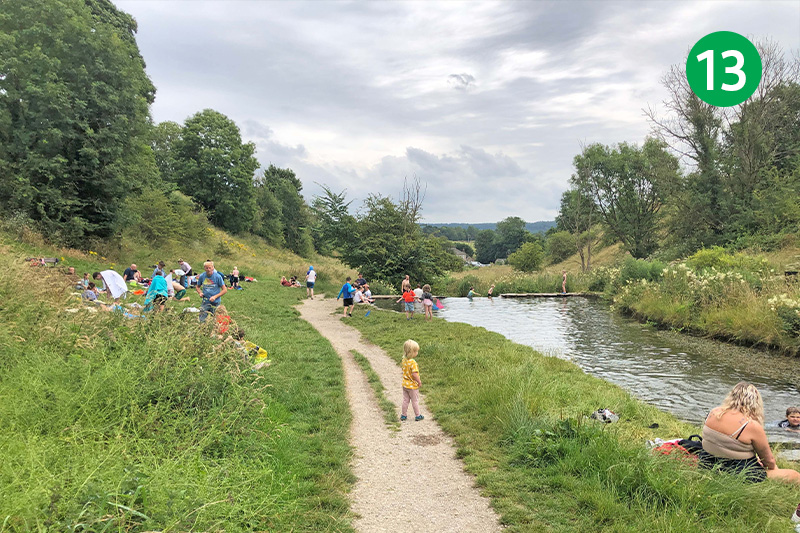
13: Turn left when you reach the clapper bridge, passing through a small gate into Bradford Dale and keeping the River Bradford on your right. (This is a popular spot for families to picnic, and children to paddle in the shallow waters.)
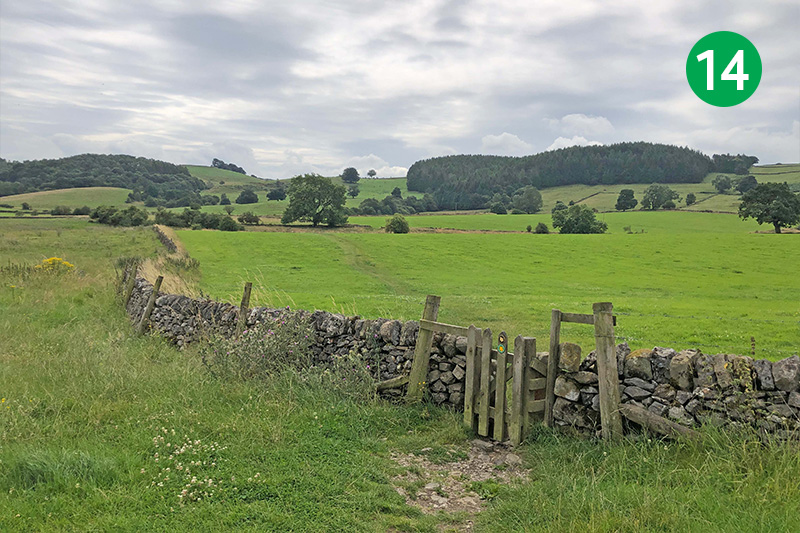
14: Follow the path through Bradford Dale all the way to the road (or take a shortcut diagonally right just before reaching the road), turning right up the lane. Turn left at the footpath sign just beyond a farm building and follow the path towards a wooden gate a short distance ahead.
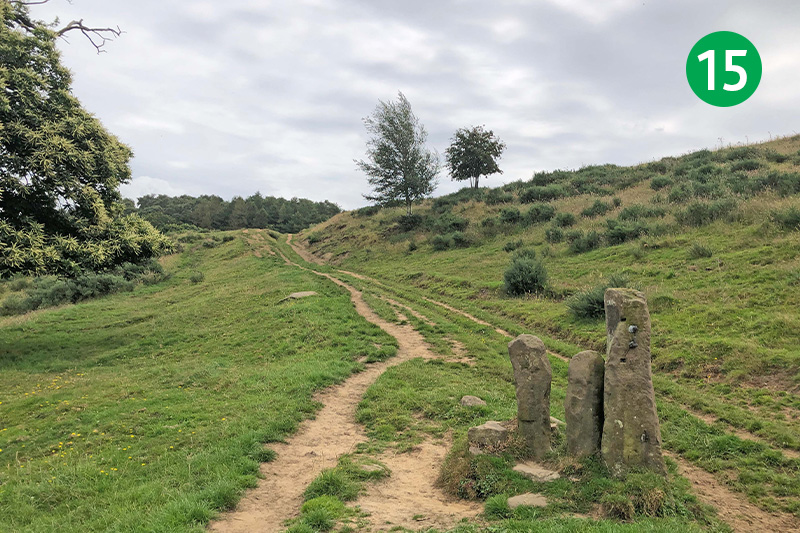
15: Follow the direction arrow diagonally right across the field towards a small gate. Through here and follow another arrow diagonally left across the large field. Drop down the slope to cross another gate and head up the other side.
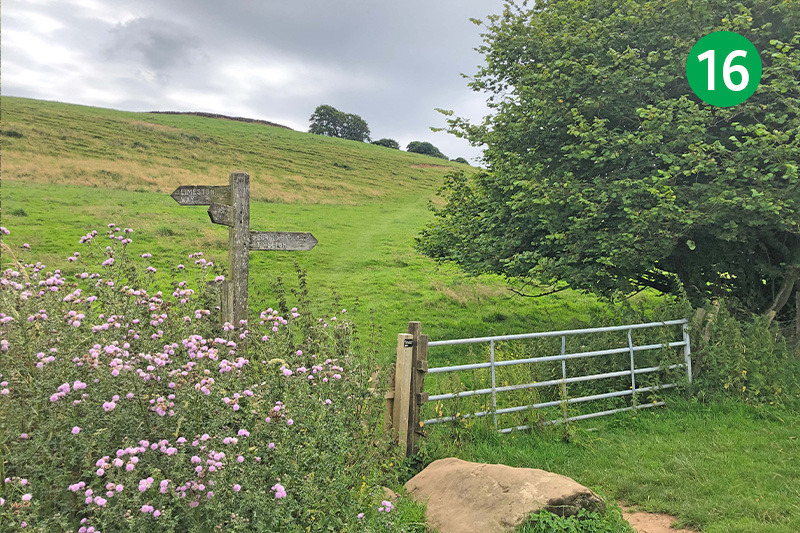
16: The path soon starts to slope down again, towards a gate beside a footpath sign. Follow the path diagonally right up the slope, passing the ramparts of an ancient hillfort at the summit to your left. Exit through a small gate, following the direction arrow to the left of farm buildings to reach a farm track. Keep on the track to reach a narrow road.
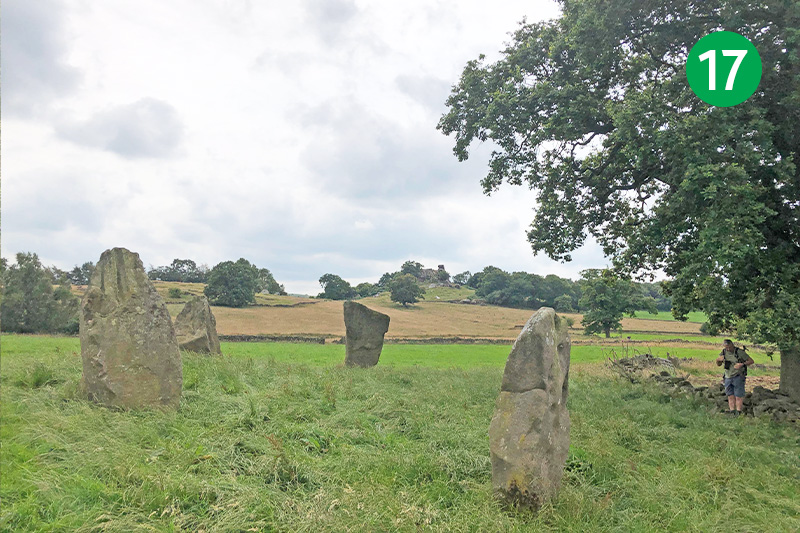
17: Cross the road through a stile next to a farm gate, following the track stright ahead, and then around to the left to reach Nine Stones Close, an ancient Bronze Age circle dating back some 4,000 years. Also known as the Grey Ladies, the stones are the largest in Derbyshire, but only four are left standing, with a fifth embedded in a nearby stone wall.
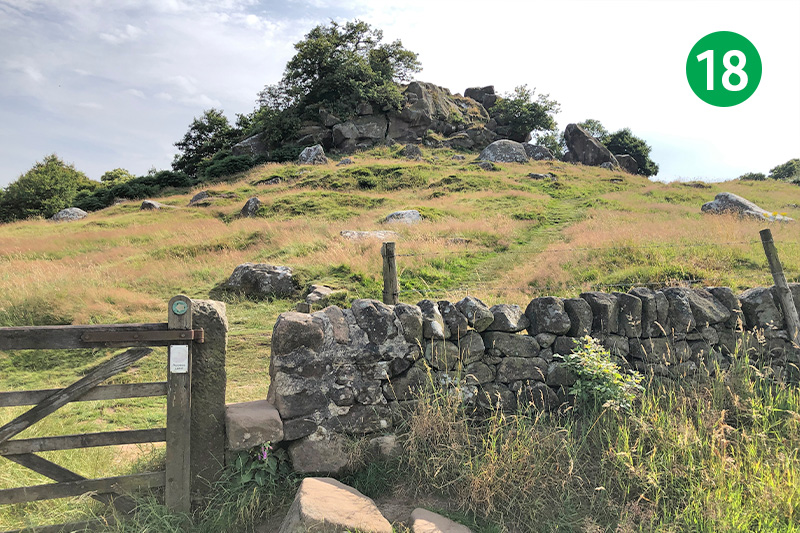
18: Retrace your steps to the gate and turn left towards a large tree, crossing to the other side of the field just before it. Turn diagonally right just before the next tree, heading towards a stile in the far wall. This leads up to Robin Hood’s Stride. The easiest way to get to the summit it is to follow the track around to the right. To continue the route, return to the same point and go through the gate just beyond the stile.
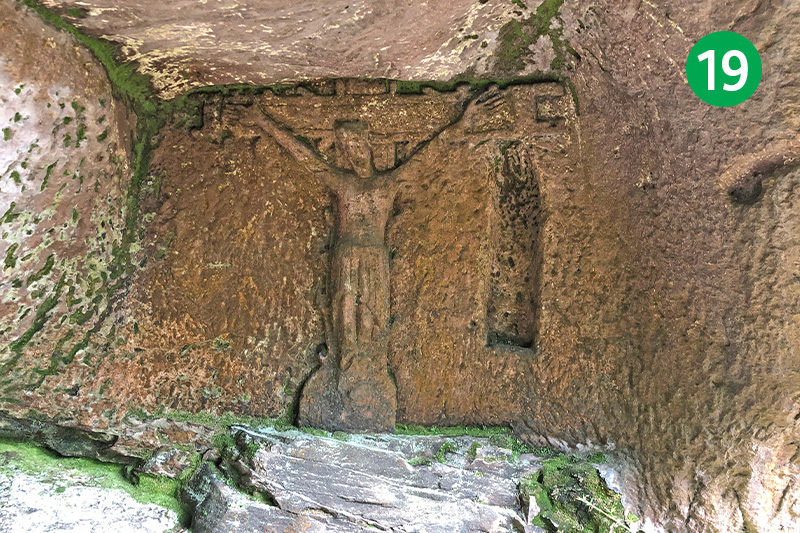
19: To visit the 14th century hermit’s cave with its crudely carved crucifixion, go through the gate opposite and take the path slightly left which eventually leads to a stile. Turn right down the slope as you enter Cratcliff Rocks, and then take a path between the rocks on your left. The cave is protected by fencing, a short distance along the winding track.
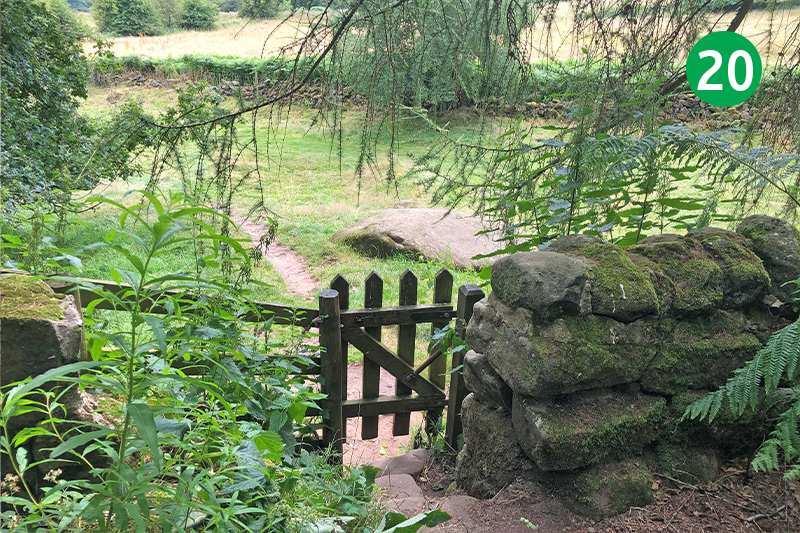
20: From the cave, retrace your steps to the edge of the trees and turn left down the slope, and then head right between a pair of wooden posts. Follow this narrow path as it winds through the trees to eventually reach a small gate. Go though here and follow the wide track to the main road. (If you’re not interested in visiting the cave, simply walk down the track from the gate at 18.)
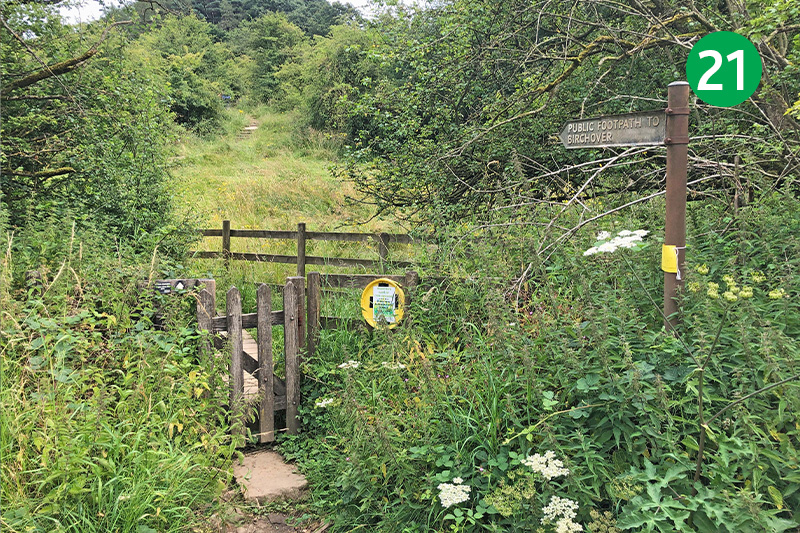
21: Turn left along the road, crossing to the other side to face oncoming traffic, and follow the next footpath sign on the right through a small wooden gate. (There’s no pavement so some care is needed at this point, but it’s only for a short distance.) Follow the path up a series of steps, continuing in the same direction through another gate and stile to reach a wider track.
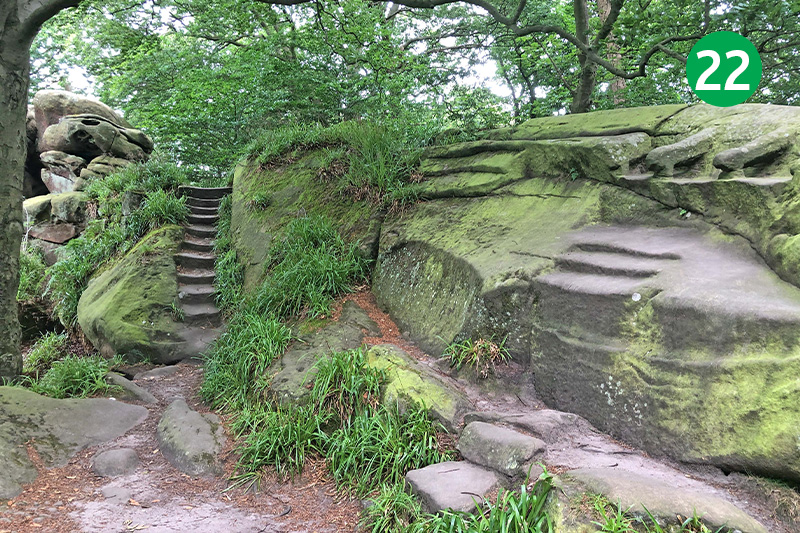
22: After some distance you reach Rowtor Rocks on your left. It’s here that eccentric local parson, Thomas Eyre, carved a series of altars, thrones, steps and symbols into the gritstone rock. The easiest way to explore the Rocks is to go through the stile nearest the Druid Inn, keeping to the right up the slope.
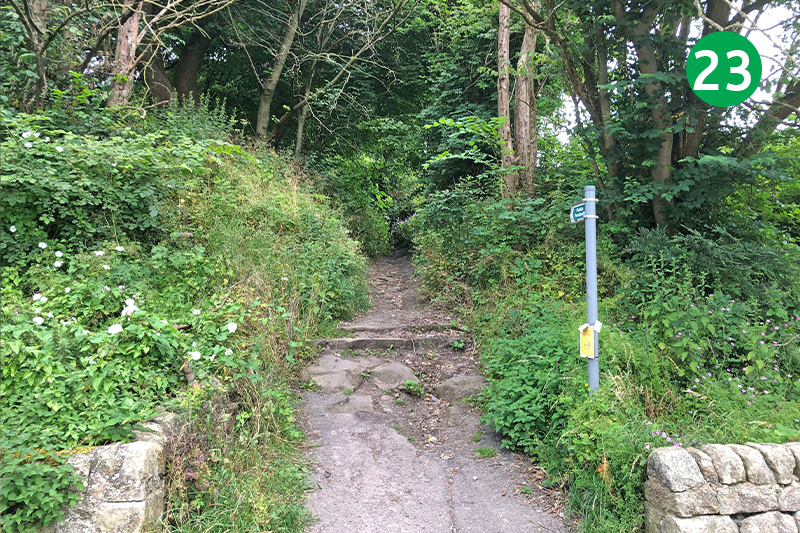
23: There are two pubs in Birchover – the Druid Inn and the Red Lion Inn just a bit further along Main Street. Follow the footpath sign opposite the Druid Inn along a narrow path for some distance to eventually exit through a small carpark onto a road, and turn left.
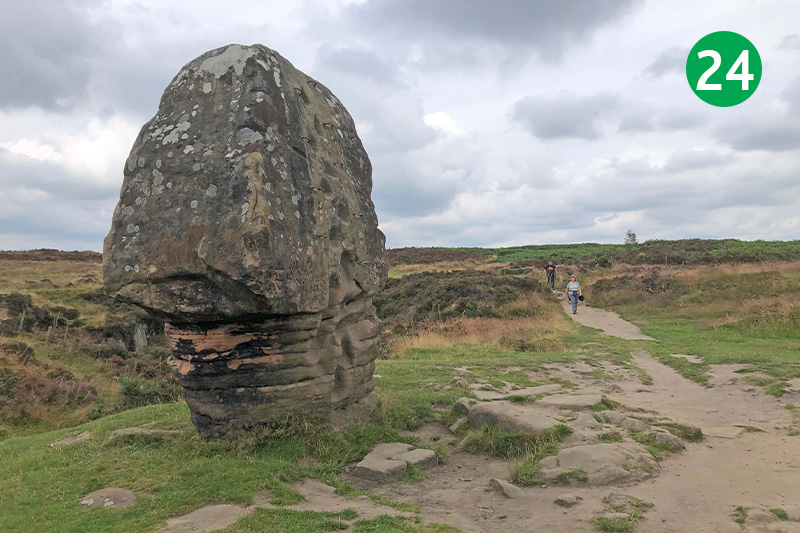
24: After a short distance, turn right at an opening into the trees and follow the path around to the left, turning right beside an information board describing the rich Bronze Age history of Stanton Moor. You soon pass the Cork Stone, with its climbing steps and iron hand-holds, on the left.
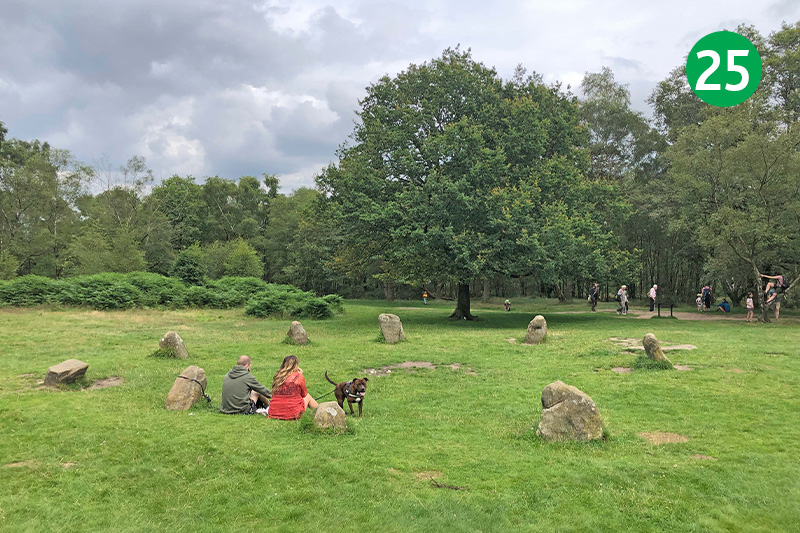
25: Follow the path to the left of the Cork Stone for some distance across the moorland. You eventually come to the King Stone, just a short distance from the Nine Ladies Stone Circle. A nearby information board explains that the name comes from a folk tradition that nine ladies were turned to stone for dancing on a Sunday. The King Stone was the fiddler.
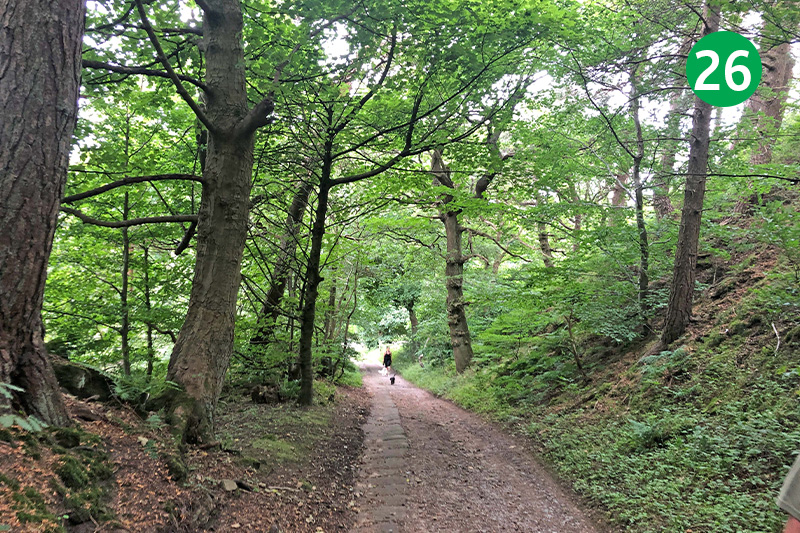
26: Retrace your steps over the King Stone, turning right after a short distance along a wide track, and then up a narrower path on the left. Keeping the fence on your left, you soon reach a stile beside a gate on the left leading to a wide track through the trees. Cross a lane, keeping in the same direction to reach another minor road.
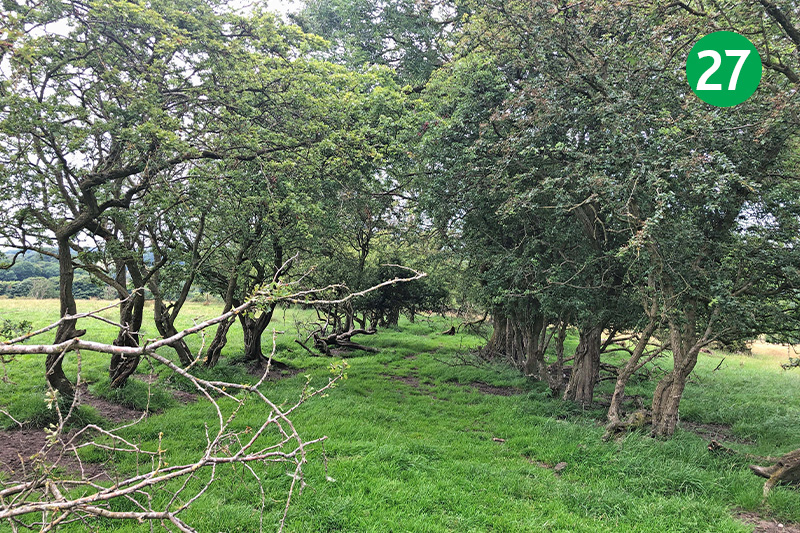
27: Turn right and follow the road through Stanton-in-Peak, passing the Flying Childer pub on your left. After leaving the village, look out for a footpath sign on the right leading into a large field. Follow the direction of the sign to the far corner of the field, exiting through a small gate. Follow the direction arrow between an avenue of trees, continuing in the same direction down the grassy slope.
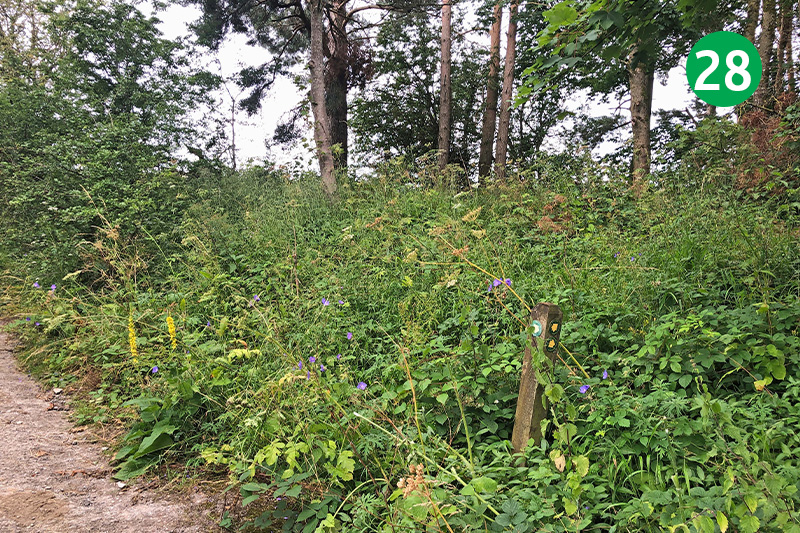
28: Turn right when you reach the road and follow the track lane on the opposite side of the crossroads, up the slope. Look out for a well-hidden sign just a short distance further pointing up to the right. Follow this to reach another gate leading into a large field.
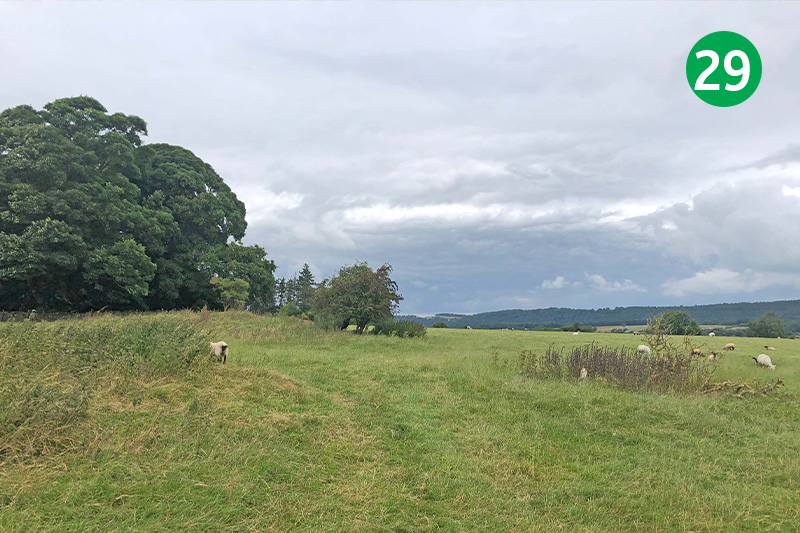
29: Cross the field, towards the right of a small copse of trees on the horizon. Then head slightly right to the far corner of the next field.
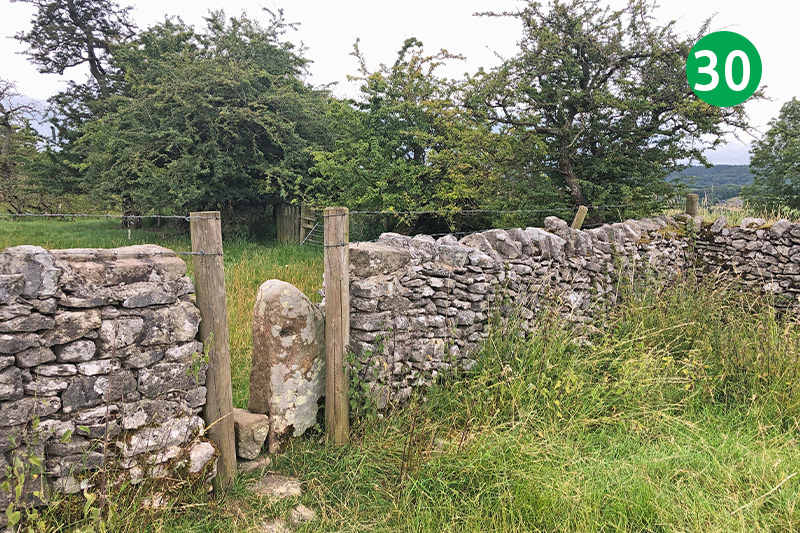
30: Cross a stile, and go through a wooden gate just a short distance further on the right, turning left along the path, with the trees on your left. Continue in the same direction to reach a stone stile and then head diagonally left down the slope.
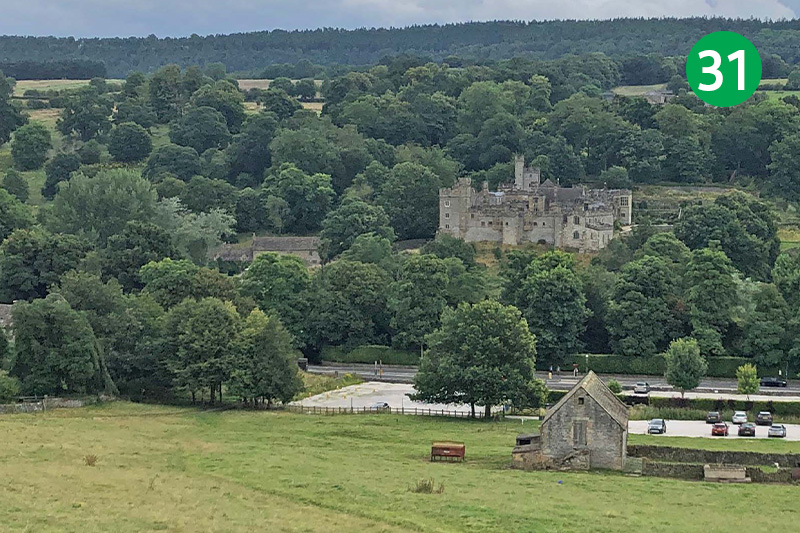
31: You soon see Haddon Hall in the distance. Continue down the slope to reach a wide gate to the left of the carpark. Haddon Hall has a rich history and is well worth a visit. The cafe is also highly recommended. Cross the road and turn left along the pavement.
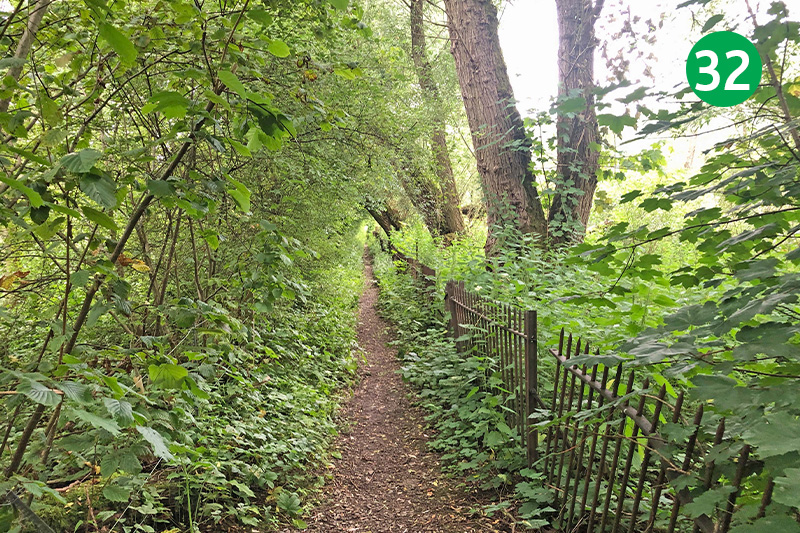
32: Look out for a footpath sign on your right, leading through a gap in the stone wall onto a narrow path. This section can get very muddy and water-logged in autumn and winter, but is easily avoided by continuing along the road and turning right at the next junction to reach point 33.
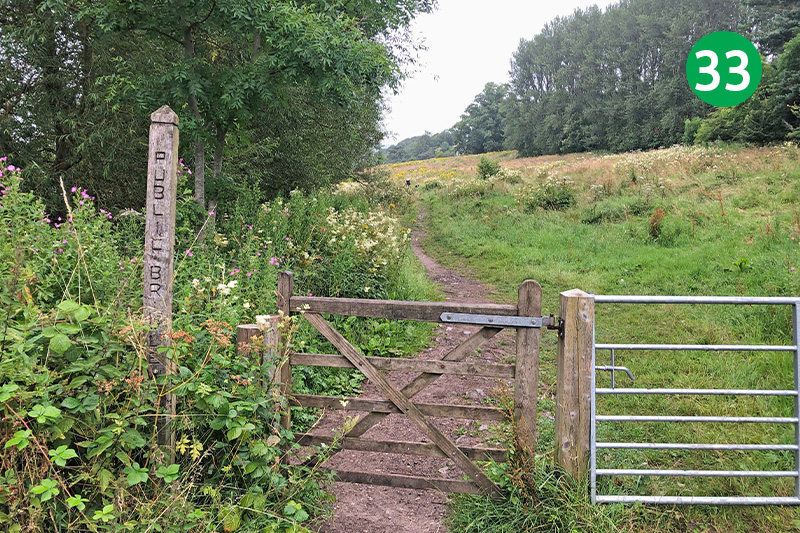
33: Turn right when you leave the narrow path, and then immediately left through a gate and follow the path that rises gently up the slope to the right. You eventually exit through a wooden gate onto a farm track. Turn left here to eventually reach Coombs Road. This leads all the way into Bakewell, but to continue this route along the Monsal Trail, follow the sign on the right up the slope.
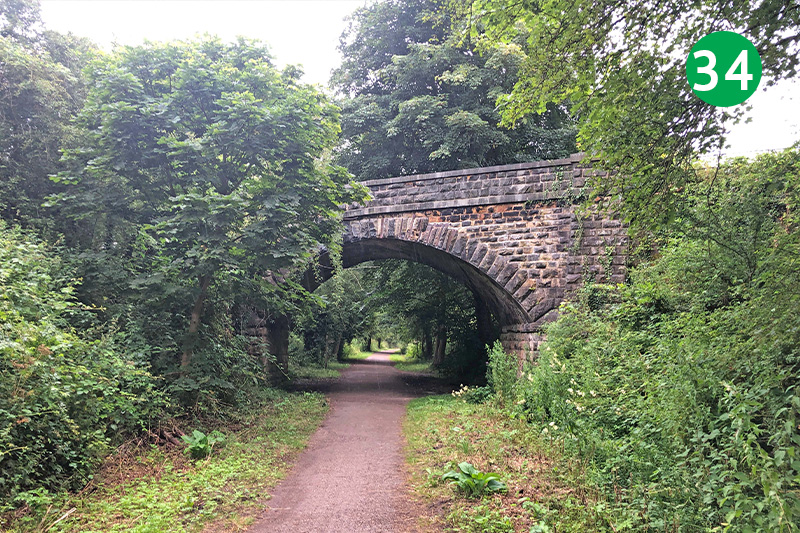
34: This is the Bakewell end of the Trail. Up to 1968, the railway continued over the viaduct on your right to Rowsley, and then on to Matlock, Derby, and eventually London St Pancras (click here for a brief history of the railway). Head left along the Trail, and then up some steps on the right, just past the first bridge, turning right at the top to cross over it.
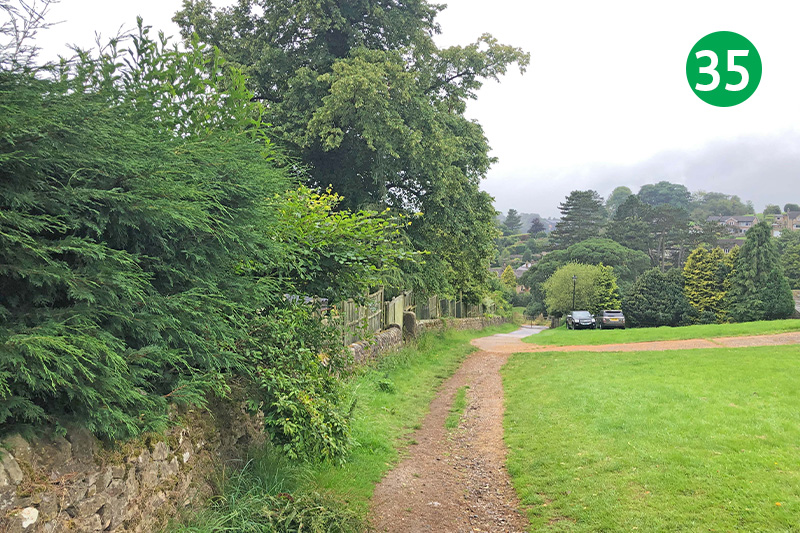
35: Continue in the same direction through a couple of gates, and down a path to reach Bakewell, turning right when you reach Coombs Road. This leads all the way to the carpark beside the town bridge. But no visit to Bakewell is complete without tasting its famous puddings, and there’s no shortage of cafes and pubs that offer them!

